
A remodel floor is not chosen by pattern first. Water, bare feet, subfloor condition, heat, cleaning, and warranties decide whether the finish survives. The useful question is which floor assembly can carry this room’s water, people, warmth, cleaners, and repair needs without failing early.
The best bathroom flooring in a remodel is a system, not a surface
The best bathroom flooring for a remodel depends on wetness, users, subfloor, heating plan, and maintenance tolerance. In a daily full bath, the safest choice is usually a tested slip-resistant surface over a reliable waterproofing and drainage strategy.
Start with water path, not tile pattern
Water path should be mapped before samples are ordered. A powder room with sink splash differs from a children’s bath with tub overflow, a primary bath with a walk-in shower, or a curbless wet room where water can cross the main floor.
- Room type: powder room, hall bath, primary bath, children’s bath, aging-in-place bath, guest bath, rental bath, or wet room.
- Landing zones: shower entry, tub apron, vanity splash zone, toilet base, doorway, and laundry-adjacent edges.
- Drainage condition: flat floor, sloped shower area, center drain, linear drain, curbless entry, or no floor drain.
- Subfloor condition: concrete slab, plywood, plank subfloor, old tile, old adhesive, water staining, softness, or deflection concern.
- Transitions: door clearance, hallway floor height, threshold profile, and accessibility goals.
A practical remodel matrix should compare porcelain tile, ceramic tile, natural stone, sheet vinyl, LVT or SPC, microcement, terrazzo, and heated tile as assemblies, not loose finishes. Budget should include demolition, preparation, waterproofing, heat, setting materials, finish flooring, trims, and maintenance supplies. Indoor finish planning also affects air quality: the U.S. Environmental Protection Agency identifies paints, varnishes, waxes, cleaning products, building materials, and furnishings as common indoor sources of volatile organic compounds in residential interiors EPA indoor air quality guidance.
Slip-resistant bathroom flooring requires tested texture, grout strategy, and cleaning realism
Slip-resistant bathroom flooring is not simply rough flooring. In wet barefoot conditions, the surface needs manufacturer test data, a cleanable texture, and a layout that avoids polished wet zones. Small tiles with more grout can help traction, but grout also adds cleaning work.
Match the slip plan to barefoot use
The best anti-slip bathroom floor is usually a matte, structured, or grip-rated porcelain tile with published wet-use slip data, matched to the room type. A family bathroom needs predictable traction after spills. An aging-in-place bathroom needs less glare, fewer level changes, and grip when soap residue is present.
| Floor finish | Slip strategy | Design consequence |
|---|---|---|
| Polished porcelain or polished stone | Avoid in wet traffic zones unless approved for that wet interior use. | Better for walls, backsplashes, or dry borders. |
| Honed or matte tile | Ask for ANSI A326.3 DCOF data or the relevant regional wet-slip rating. | Good candidate when cleaning remains simple. |
| Structured or grip tile | Use where splash, children, pets, or aging-in-place concerns matter. | Texture improves confidence but can trap soap film. |
| Mosaic tile | Frequent grout joints can help on sloped shower floors. | More grout means more maintenance. |
Manufacturer language needs translation. “Spa,” “textured,” “grip,” and “non-slip” are marketing descriptions unless the data sheet states a test method, wet or dry condition, and intended use.
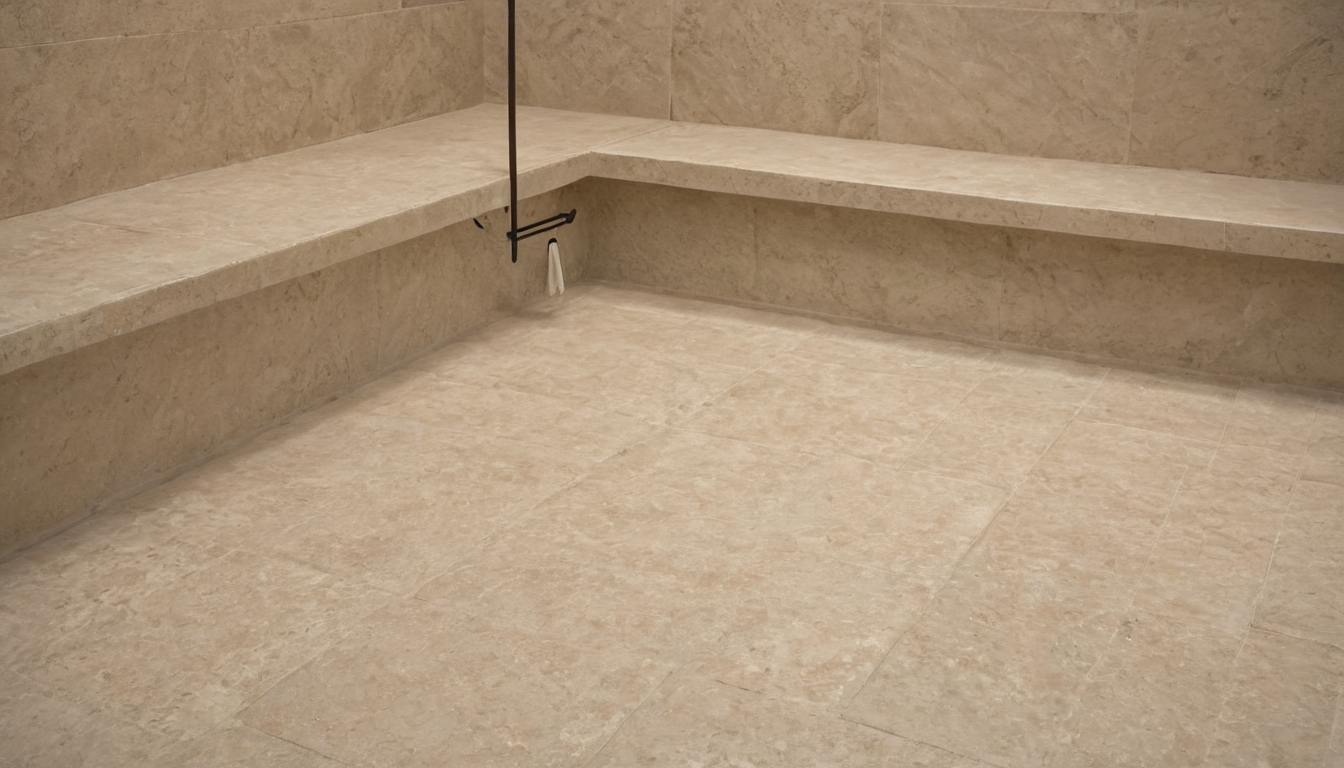
Slip-resistant bathroom flooring requires tested texture, grout strategy, and cleaning realism shown as a planning reference for layout, scale, and material decisions.
Large-format bathroom tiles need a different slip plan than mosaics
Large-format tile can work on a main bathroom floor, but fewer grout joints mean fewer traction breaks, and lippage becomes more noticeable to bare feet. A 24 by 24 inch matte porcelain field tile may feel calm in a primary bath, while a 2 by 2 inch mosaic often behaves better on a small shower slope.
Drained wet areas change the rule set. The Ceramic Tile Education Foundation states that wet-area tile installations with drains, including shower floors, must slope toward the drain, and the cited plumbing-code range is 1/4 inch per foot minimum to 1/2 inch per foot maximum where that condition applies. That slope affects drainage, tile size, cuts, grout frequency, and stability under a wet heel. Ceramic Tile Education Foundation wet-area guidance also notes that 2024 TCNA shower receptor guidance addresses membrane options, including ANSI A118.10 waterproof membranes in the cited method.
A curbless shower with a linear drain may accept larger tile if the slope runs in one plane. A center drain usually breaks the floor into several slopes, making smaller tile or a carefully cut layout safer and cleaner. The best imperfect surfaces in daily use are intentional enough to grip, but not so coarse that they become a dirt trap.
Waterproof bathroom flooring depends on the membrane and subfloor more than the visible finish
A bathroom floor is waterproof only when the assembly below the finish is designed for water exposure. Porcelain tile, stone, and terrazzo can resist water at the surface, but grout joints, penetrations, edges, toilets, tubs, and shower transitions still need correct membranes, sealants, and preparation.
Use a membrane where water is expected, not merely possible
A waterproofing membrane is essential where the floor receives frequent water. Curbless showers, wet rooms, shower entries, tub-shower splash zones, linear drains, and low thresholds should be treated as water-management assemblies, not decorative floor finishes.
The Ceramic Tile Education Foundation states that tile should not be treated as waterproof by itself in wet-area installations, because water movement into the structure requires a positive water barrier behind the tile and load-bearing capacity where required.
- Use a full waterproofing plan for curbless showers, wet rooms, shower floors, tub platforms, and floors that may hold standing water.
- Consider a membrane as remodel insurance around toilets, freestanding tubs, vanity plumbing, thresholds, and laundry-adjacent bathrooms.
- Match the membrane system to the drain body, thinset, primer, seam tape, sealant, backer board, and floor heat system.
- Confirm local requirements before rough-in, especially for shower drains, flood testing, curbless transitions, GFCI protection, and heated-floor sensor placement.
Subfloor rot, deflection, and old adhesive are failure points
The existing subfloor decides whether the new bathroom floor can perform. Rigid porcelain can crack over a flexing floor, vinyl can telegraph old adhesive ridges, and stone can trap a damp smell if a toilet leak was covered instead of repaired.
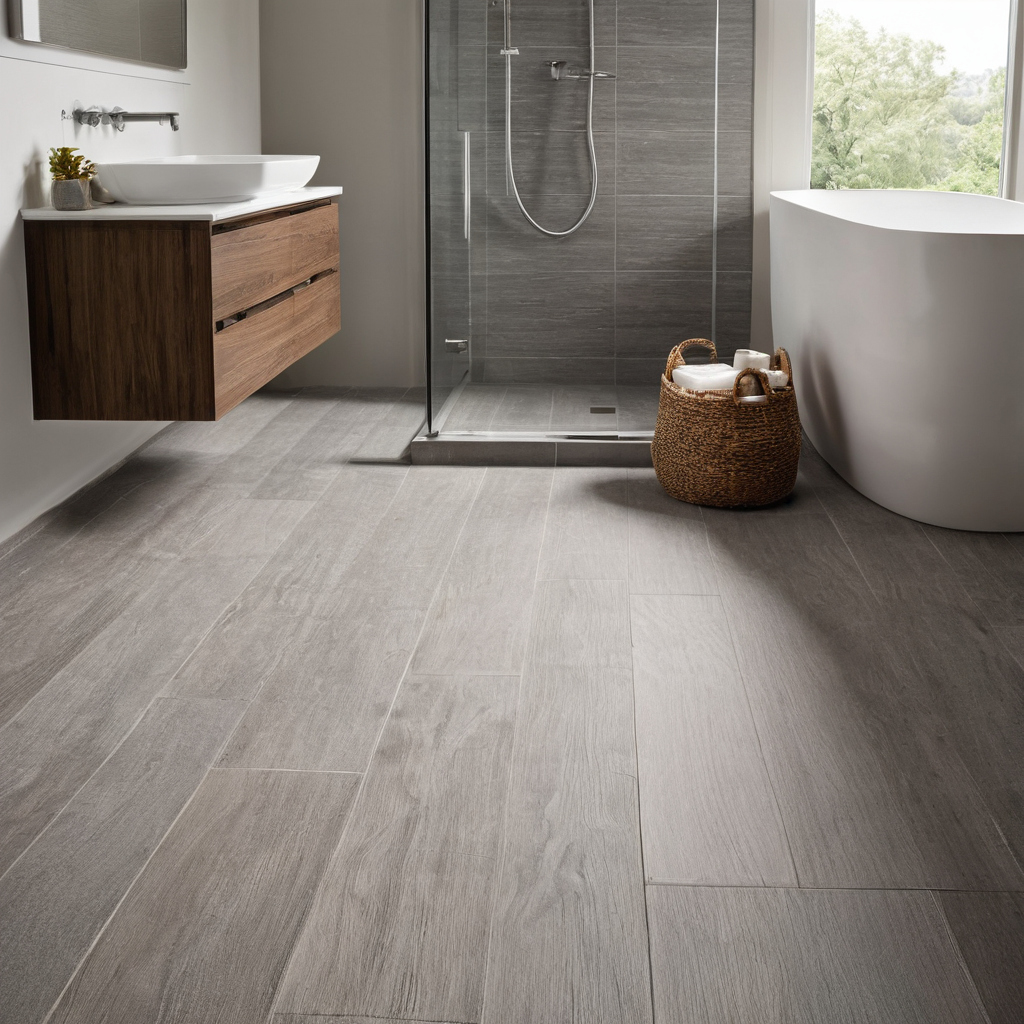
Waterproof bathroom flooring depends on the membrane and subfloor more than the visible finish shown as a planning reference for layout, scale, and material decisions.
- Reject soft areas near toilets, tubs, shower curbs, and vanity plumbing until damage has been opened and repaired.
- Investigate staining and odor around old flanges, tub legs, radiator pipes, and previous patch lines.
- Check deflection and fastening for tile and stone. Framing, panel thickness, underlayment, fasteners, and movement joints must suit the finish.
- Remove incompatible residues such as loose adhesive, waxy backings, brittle leveling compound, and moisture-sensitive underlayments.
- Plan penetrations before waterproofing including toilet flange height, heat sensor route, vanity supplies, drain position, tub filler, and doorway transition.
An installer should accept the substrate in writing before setting the finish. That acceptance should cover flatness, stiffness, dryness, cleanliness, compatibility, and required patching or leveling.
Warm bathroom flooring comes from thermal behavior, not just radiant heat
Warmth underfoot is shaped by material conductivity, floor temperature, insulation, room heating, and how long the user stands barefoot. Electric radiant heat under tile can improve comfort, but vinyl, cork-backed products, and small washable bath mats may feel warmer without the same construction cost.
Choose warmth by use pattern, not assumption
Porcelain, ceramic, natural stone, and terrazzo usually feel cool because dense materials draw heat from bare feet quickly. That same density works well with radiant heat because the floor can store and spread warmth, but an unheated stone floor beside a shower can feel cold.
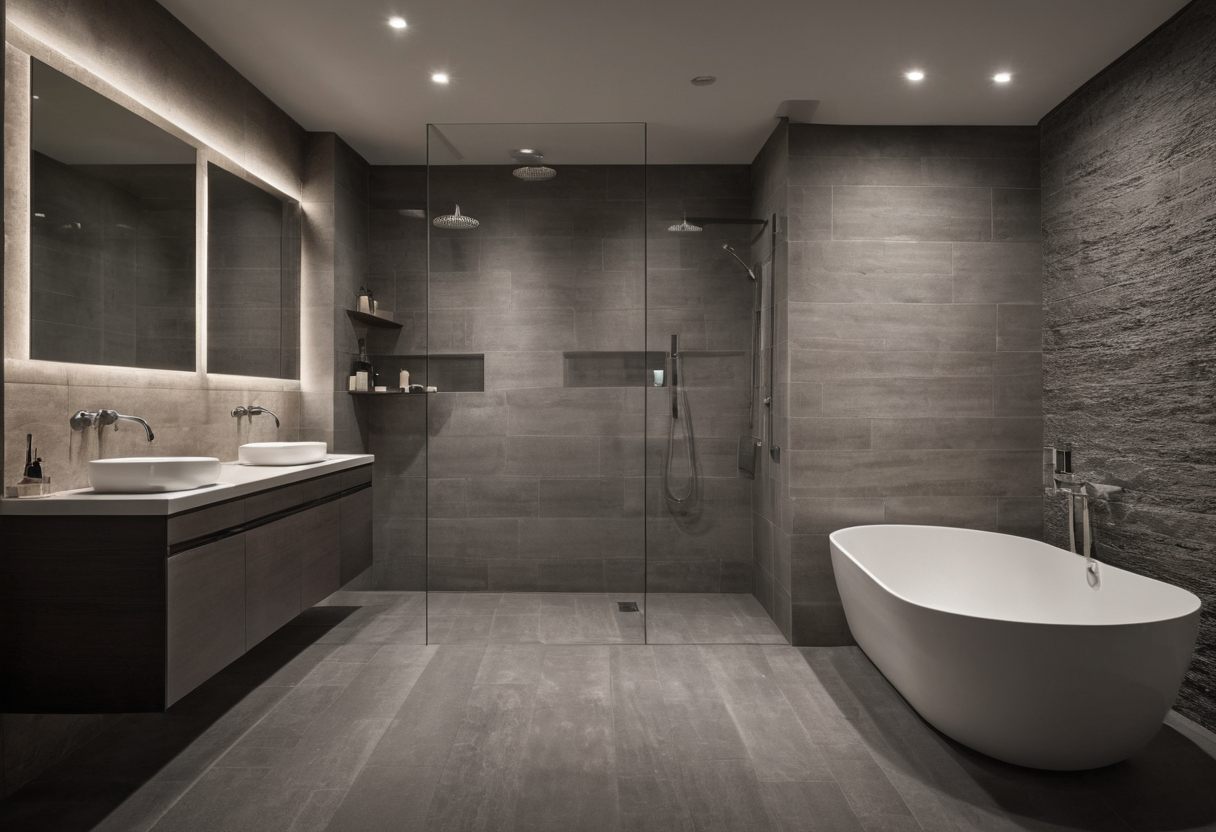
Warm bathroom flooring comes from thermal behavior, not just radiant heat shown with finish, fixture, and clearance relationships visible.
Vinyl, SPC, and some cork-backed bathroom-approved resilient products often feel warmer because the surface transfers less heat from the foot. The tradeoff is edge discipline: seams, perimeter joints, toilet cuts, tub lines, and shower entries must match the manufacturer’s bathroom installation and warranty language.
Microcement sits between these categories. A sealed microcement floor can feel less glassy than polished porcelain, but comfort depends on substrate temperature, sealer system, movement joints, and waterproofing. Products that use primers, sealers, adhesives, or coatings may emit volatile organic compounds during use or curing, and the EPA recommends increasing ventilation when using VOC-emitting products indoors through its indoor air quality guidance.
Heated floors must be planned before tile layout
Electric radiant heat is not a finish upgrade that can be added after the tile decision. Heating cable or mat spacing, thermostat location, floor sensor placement, self-leveling compound, waterproofing membrane, thinset, tile thickness, and grout joints need one coordinated assembly.
Clearances decide whether heat reaches the right places. Heating elements usually avoid toilet flanges, fixed vanities, tub aprons, shower drains, curbs, and built-in cabinetry because trapped heat and penetrations can damage the system or complicate repairs. Hydronic radiant heat is most realistic when the home already has a compatible hydronic system or when the bathroom floor is being rebuilt deeply enough to justify the assembly height.
Bathroom flooring materials should be compared by failure mode, not just style
Porcelain, stone, vinyl, microcement, terrazzo, and heated tile can all work in bathroom remodels, but each fails differently. The right choice depends on whether the project can tolerate grout maintenance, sealer renewal, substrate movement, product denting, skilled labor needs, or difficult future repair.
| Material | Best use case | Common failure mode | Maintenance need |
|---|---|---|---|
| Porcelain tile | Main bathroom floors, shower floors, wet rooms | Cracked grout, lippage, poor slope, failed membrane | Grout cleaning and occasional repair |
| Natural stone | Powder rooms or carefully maintained primary baths | Etching, staining, darkening, slippery polish | Sealing and neutral cleaning |
| Vinyl, LVT, or SPC | Budget remodels and dry bathroom floors outside showers | Open seams, swollen substrate, trapped moisture | Low, if cleaners and seams match warranty |
| Microcement | Continuous visual surfaces with specialist installers | Cracking, staining, patch visibility | Sealer renewal and careful cleaning |
| Terrazzo | Durable statement floors with skilled labor | Slippery polish, cracks, stain at pores or joints | Cleaning, refinishing, sealer care |
Porcelain tile is the benchmark when the installation is correct
Porcelain tile is the benchmark because the tile body is dense, the finish range is broad, and replacement pieces can be stored for future repairs. That status disappears if the tile is installed over a moving subfloor, a poorly bonded membrane, or a shower floor that cannot drain.
The Ceramic Tile Education Foundation notes that the TCNA Handbook treats many residential bathroom floors as limited water exposure when water is removed, while shower floors and horizontal bathroom surfaces where water is not removed or drained fall into residential wet areas. That distinction should decide the assembly before tile color.
Stone, microcement, and terrazzo need a maintenance contract with the homeowner
Natural stone, microcement, and terrazzo are not wrong bathroom ideas, but they ask more from the owner than porcelain does. Honed marble can feel beautiful, yet acidic cleaners, hair dye, hard water, and cosmetics can mark the surface before the room feels old.
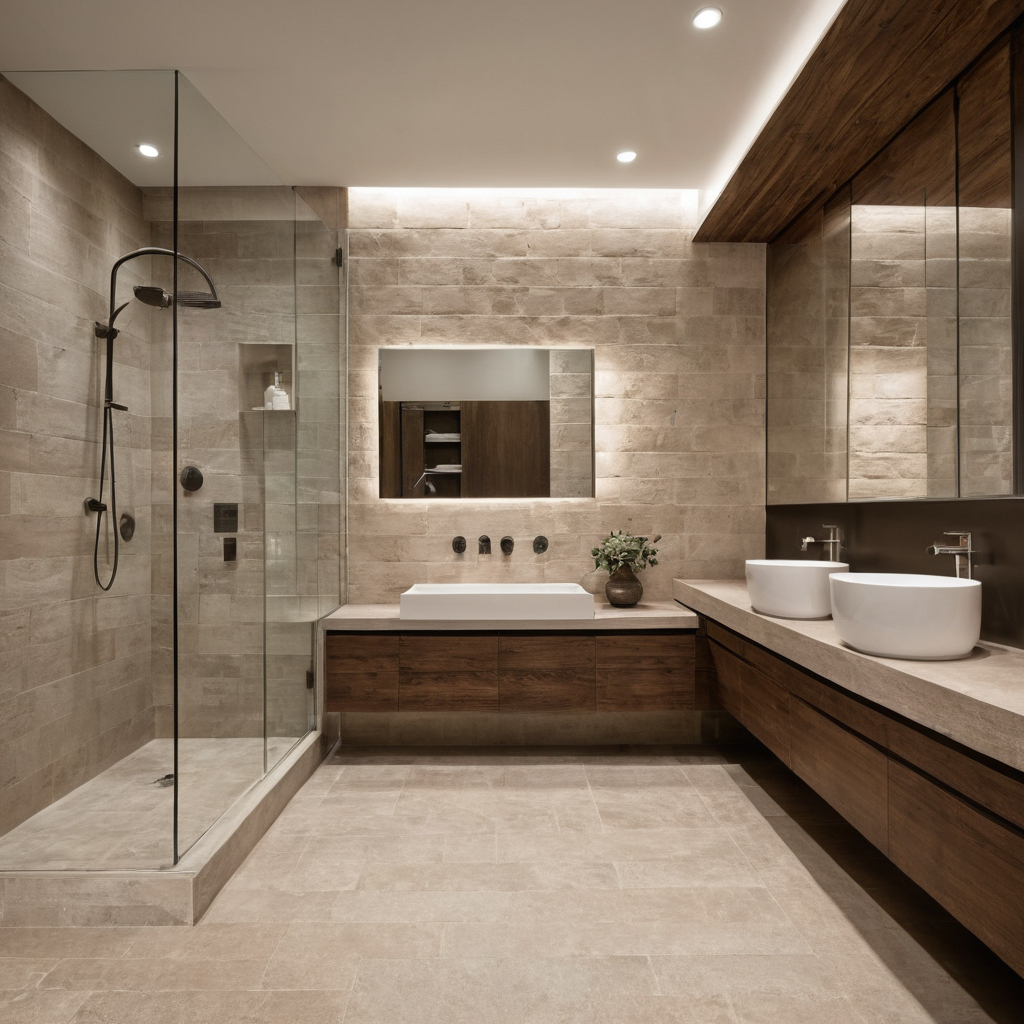
Bathroom flooring materials should be compared by failure mode, not just style shown with floor, wall, and fixture relationships visible.
The Natural Stone Institute recommends cleaning natural stone with neutral cleaners, stone soap, or mild liquid dishwashing detergent and warm water through its Natural Stone Institute care guidance. If the household expects bleach sprays, abrasive pads, and no sealer conversations, stone is a risky floor for a daily bathroom remodel.
Microcement depends on substrate stability, waterproofing continuity, corner detailing, and a sealer system that suits wet cleaning. Terrazzo depends on binder type, aggregate exposure, polish level, joint placement, and slip performance.
Vinyl and SPC are practical only when seams, edges, and warranties match the room
Vinyl, LVT, and SPC can be sensible when the room is not a true wet room and the manufacturer allows the exact use. The vulnerable points are seams, perimeter cuts, toilet penetrations, tub edges, transition strips, and moisture trapped below the floor.
Sheet vinyl has fewer seams and can be forgiving in a small bath, but repairs after water intrusion may require a larger replacement area. Click LVT or SPC can allow plank replacement, but floating floors dislike uneven subfloors, heavy point loads, and water at an unlocked edge. Many warranties exclude flooding, standing water, steam exposure, unapproved substrates, or installation over unsuitable old flooring.
Accessible planning also changes floor decisions. The 2010 ADA Standards specify a 30 by 48 inch clear floor or ground space for wheelchair positioning, and set accessible dining and work surfaces at 28 to 34 inches above the finish floor or ground in the conditions covered by the standards 2010 ADA Standards for Accessible Design. A private home bathroom may not be an ADA project, but those dimensions show why floor transitions, clearances, thresholds, and finish height cannot be left until the end.
Waterproofing products should not be mixed casually across manufacturers. The Ceramic Tile Education Foundation describes combining wet-area waterproofing products or methods from different manufacturers as a failure risk that can void warranty coverage.
A bathroom flooring remodel should be sequenced to expose risk before finishes are ordered
The safest bathroom flooring sequence is demolition, subfloor inspection, plumbing correction, waterproofing plan, heating coordination, layout approval, and only then finish procurement. This prevents expensive tile, stone, or vinyl from being selected before the project knows floor height, moisture damage, drain location, and substrate limits.
A floor-only replacement still needs a risk pause after demolition. Wet or damp spots should be corrected promptly to reduce mold risk, according to the EPA’s mold and moisture guidance.
- Open the floor. Remove finish layers, check for rot, swollen panels, loose fasteners, slab moisture, old adhesive, and suspicious resilient flooring that may need testing before disturbance.
- Confirm the plumbing geometry. Check toilet flange height, shower drain position, curbless entry slope, vanity footprint, and door swing before tile layout begins.
- Set the floor build-up. Add substrate repair, leveling compound, membrane, heating mat or cable, setting bed, finish thickness, and threshold height into one section detail.
- Approve waterproofing and electrical work. Use qualified trades for plumbing relocation, structural repairs, and electric radiant heat, and follow local inspection requirements where they apply.
- Order the finish package. Procure flooring, trims, grout, sealers, membrane accessories, heat controls, and spare material only after the assembly is known.
Include preparation, waterproofing, heat, trims, and maintenance supplies
Bathroom flooring costs are often distorted by square-foot finish pricing. The real allowance should include demolition, disposal, substrate repair, leveling, waterproofing membrane, uncoupling or backer components, heating, setting materials, labor, finish material, trims, grout, sealers, compatible cleaners, and spare pieces.
Cost pressure rises with a curbless shower, large-format tile, natural stone, heated flooring, rotten subflooring, slab moisture, or a complicated transition to hallway flooring. Store spare tile or flooring, ideally one unopened box or about 10 percent extra, because a cracked tile five years later is rarely helped by a discontinued batch.
Write the final bathroom floor specification before installation starts
The final specification should name the material, finish, size, slip-resistance data, grout type, grout color, membrane, underlayment, heating system, trim profile, movement-joint locations, sealer, and cleaner. Natural stone needs particular care language because the Natural Stone Institute warns that scouring powders and abrasive creams can scratch stone surfaces.
Approval items should include the tile layout drawing, drain placement, threshold detail, finished floor height, waterproofing inspection point, and maintenance handover. Warranty records should keep batch numbers, installation product names, photos of concealed layers, receipts, and manufacturer instructions.
FAQ
What is the best anti-slip flooring for a bathroom remodel?
The best anti-slip flooring for most bathroom remodels is a matte or structured porcelain tile with published wet-use slip data. Shower floors often benefit from smaller tile or mosaics because grout joints help follow slope and add foot contact.
What bathroom flooring is waterproof and slip resistant?
A slip-resistant porcelain tile over a correctly specified waterproofing membrane is the strongest answer for wet bathrooms and curbless showers. The tile surface helps with traction, but the membrane, drain, seams, edges, and slope create the waterproof assembly.
What flooring feels warm underfoot in a bathroom?
Vinyl, SPC, and some bathroom-approved resilient floors often feel warmer than tile because they draw less heat from the foot. Porcelain, stone, and terrazzo feel cooler unless heated, but they work well with radiant systems when the full assembly is compatible.
Is porcelain tile better than vinyl for a bathroom remodel?
Porcelain tile is usually better for wet rooms, shower floors, and long-term durability when the installation is correct. Vinyl can be practical for dry bathroom floors and budget remodels, but seams, edges, toilet cuts, and warranty exclusions need close review.
Do bathroom floors need waterproofing under the tile?
Bathroom floors need waterproofing under tile when frequent water, standing water, curbless shower conditions, or wet-room use is expected. Tile and grout are not a complete waterproofing layer by themselves, so the membrane and substrate plan should be decided before finish tile is ordered.