
A first-time buyer stands in a 5×8 bathroom, holding a tape measure against a 60-inch tub alcove. The 24×48 porcelain panels they picked leave a 12-inch sliver on every row. Five rows mean five slivers. Five slivers mean cutting a full panel to throw away half of it. That is a math problem, not a style choice. Format dictates cost. The limitation is real: tight modular math restricts aesthetic options to specific sizes that divide cleanly into your walls. You cannot pick any tile from the showroom floor and expect it to fit a 60-inch span without paying for waste.
Key takeaways
- Wall dimensions in a 5×8 bathroom are fixed at 60 and 96 inches.
- A standard 60-inch tub alcove accepts 4×4, 6×6, 5×10, 10×20, 12×24, and 6×24 field tiles without horizontal waste when the grout line is calculated correctly.
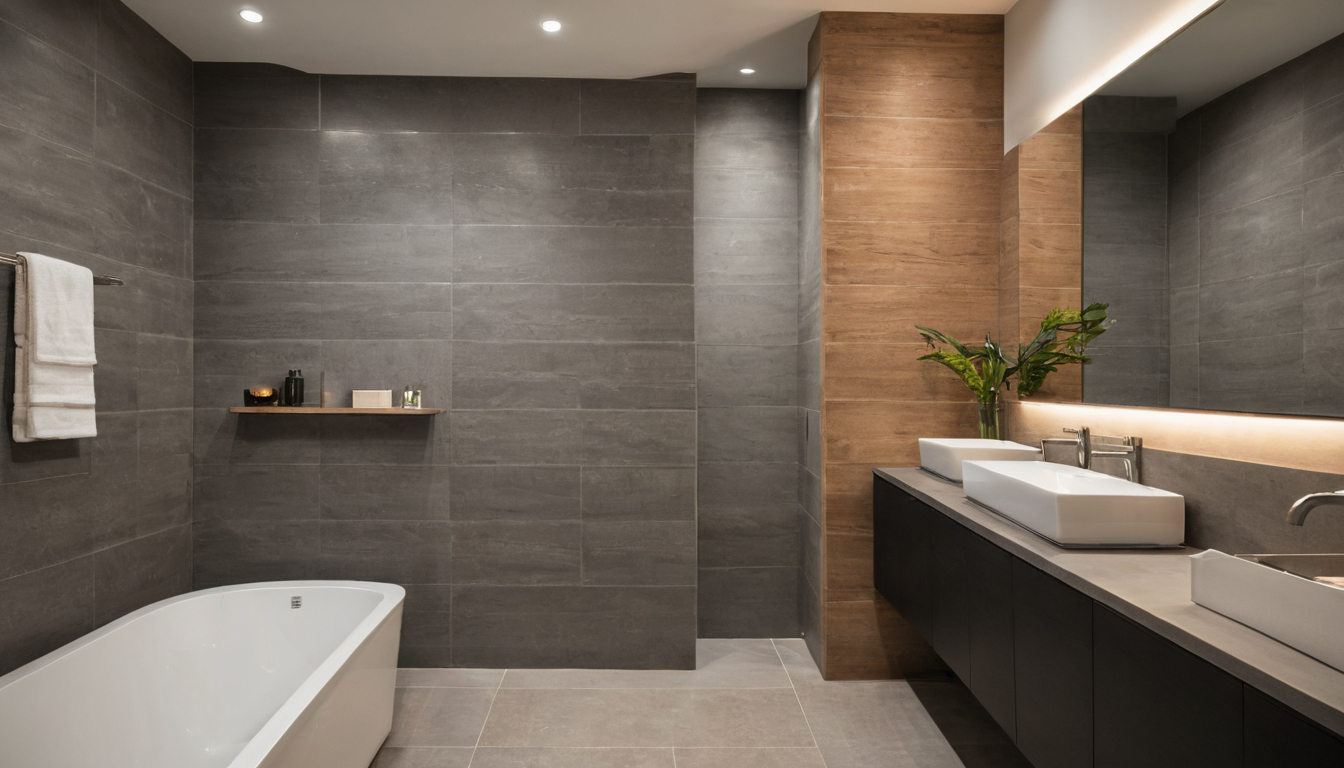
A 5×8 bathroom remodel stays under budget when the tile format fits the walls.
Why does tile format dictate the cost of a 5×8 bathroom remodel?
Wall dimensions in a 5×8 bathroom are fixed at 60 and 96 inches. Tile formats that do not divide evenly into these lengths require partial cuts on every row. Those offcuts become waste. Choosing a module size that fits the math reduces the number of cartons you buy.
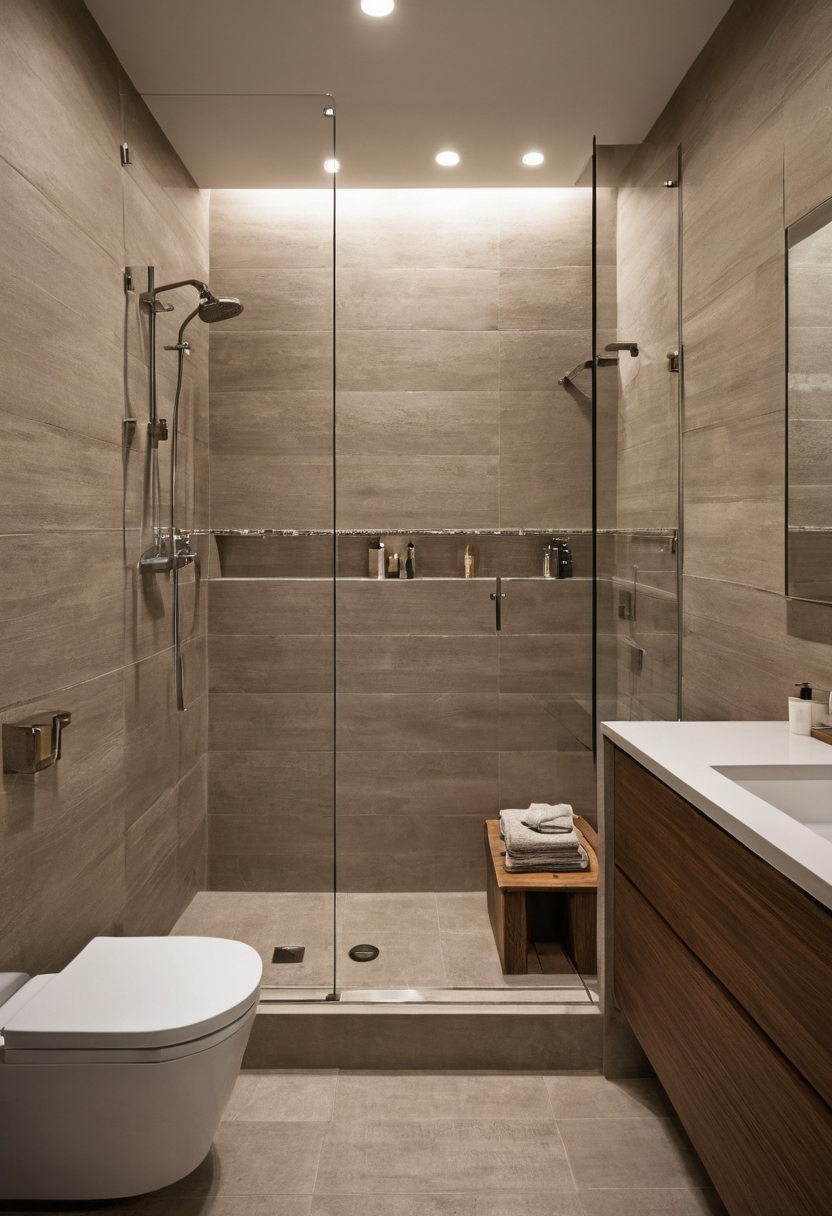
Why does tile format dictate the cost of a 5×8 bathroom remodel.
Standard US bathtub alcoves run 60 inches long by 30 or 32 inches deep. The back wall stretches 60 inches. The two side return walls measure 30 or 32 inches each. A full-height surround usually climbs 72 to 80 inches above the tub deck. Each number is a hard boundary. Tile modules must divide into them. When a nominal dimension leaves a remainder, the setter makes a cut. Cuts take labor time and material. Small remainders under two inches often snap during scoring. They end up in the bucket, but you paid for them in the carton.
Nominal tile dimensions differ from actual face sizes. ANSI A137.1 governs American ceramic and porcelain tile production tolerances. A box labeled 12×24 inches contains pressed tiles measuring closer to 11-3/4 by 23-3/4 inches. Rectified tiles cut closer to the nominal mark, usually within a fraction of a millimeter, because the factory grinds the edges after firing. That gap between the printed name and the physical edge changes the layout. If you plan a 60-inch wall using exactly five 12-inch tiles, the actual coverage falls short. You need the grout joint to make up the difference.
Grout joints subtract from module coverage. A standard 1/8-inch joint adds width to the repeating pattern. Five tiles with four joints gain half an inch of total spread. A 3/16-inch joint adds more. Mosaic sheets use mesh backing with built-in spacing, usually locking the joint at 1/16 or 1/8 inch. Large-format panels demand minimum joints based on warpage limits set by ANSI A137.1. Pressed floor tile typically requires a 3/16-inch minimum joint. Wall applications allow tighter spacing if the substrate is flat. Calculate the true module by adding the actual tile face to the planned joint width. Then divide the wall length by that module. The remainder tells you how much tile hits the floor as scrap.
Thinset coverage depends on trowel notch size and tile format. Larger panels require larger notches to achieve proper mortar transfer. A 12×24 tile needs at least a 1/4×3/8-inch square-notch or U-notch trowel. Coverage drops to roughly 60 to 70 square feet per 50-pound bag of modified thinset at that notch depth. Smaller 4×4 or 6×6 tiles use a 1/4×1/4-inch square notch, stretching a bag to 80 or 90 square feet. Buying extra tile means buying extra thinset. Waste compounds across materials. Pallet pricing works when you order whole units. Partial pallets or mixed shipments carry higher per-square-foot freight costs. First-home budgets absorb those penalties poorly.
Bullnose trim pieces follow the same modular logic. A 60-inch tub ledge needs bullnose edges that match the field tile module. If your field tile is 8×8, you need seven-and-a-half pieces. Half-pieces require cutting the profile edge, which chips easily on pressed ceramic. Matching trim to field format avoids specialty cuts. V-cap corners and surface bullnose add linear footage to the material list. Count trim before ordering to avoid a second delivery charge for six pieces of edging.
Moisture management is part of the tile installation sequence. Wet areas demand waterproofing behind the cement board or foam backer. Leaks behind tile destroy framing and subfloors. The U.S. Environmental Protection Agency guide to mold and moisture states that condensation and wet or damp spots should be fixed promptly to prevent mold growth. Prompt repair means catching failures before the surround goes up. Proper membrane application, sealed seams, and correct thinset selection keep water out of the wall cavity. Budgeting for a liquid-applied membrane or sheet waterproofing adds upfront cost. Skipping it risks tearing out the entire tile job later. Mold remediation costs more than a bucket of sealant.
Offcuts pile up fast in a small room. A 5×8 bathroom has roughly 130 to 150 square feet of wall space depending on ceiling height and window placement. A ten percent waste factor adds 13 to 15 square feet. Bad modular math pushes waste to 15 or 20 percent. On a pallet-priced shipment, that extra overage represents real money spent on tile you sweep into a dumpster. First-home buyers working with a fixed cash limit cannot afford to pay delivered prices for garbage. The constraint is physical geometry. The 60-inch alcove does not care about the pattern on the glaze. It only accepts dimensions that divide cleanly into its length.
Selecting format by division before selecting color changes the entire procurement process. You stop looking at aesthetics first and start looking at arithmetic. A tile that divides perfectly into 60 inches and 96 inches covers the room with minimal cuts. A tile that fails the math forces compromises. You either accept high waste, shift the layout to center a cut on both ends, or change the product entirely. Centering cuts helps visually but still burns material. Shifting the starting point does not create new square footage inside the carton.
The verdict on tile format is simple. The winning size minimizes delivered carton count and maximizes installed coverage. The drawback is the restriction. You might want a specific 24×48 slab look, but the 60-inch tub alcove rejects it without heavy waste. You trade visual preference for budget survival. That tradeoff defines first-home material selection. Knowing the math protects the cash limit. The next step is to run the actual numbers against standard module sizes. Which tile sizes divide evenly into a 60-inch tub alcove?
Which tile sizes divide evenly into a 60-inch tub alcove?
A standard 60-inch tub alcove accepts 4×4, 6×6, 5×10, 10×20, 12×24, and 6×24 field tiles without horizontal waste when the grout line is calculated correctly. Formats like 8×8 or large-format 24×48 panels leave unusable slivers at the corners. Pressed edge tile requires wider joints that shift the math slightly compared to rectified stock.
The 60-inch back wall of a standard bathtub alcove sets a fixed constraint for any bathroom remodel. Field tiles must span that distance in whole modules plus grout joints. A 4×4 ceramic tile fits exactly fifteen times across 60 inches with zero joint allowance. In practice, a 1/8-inch grout joint reduces the available space per module to 4.125 inches. Fifteen tiles and fourteen joints consume 61.75 inches, which exceeds the wall. The installer cuts every single tile down by roughly 1/8 inch, or drops to fourteen tiles and adds a narrow border strip. Neither option saves labor.
A 6×6 module divides cleanly. Ten tiles across 60 inches require nine joints. At 1/8 inch per joint, the total width reaches 61.125 inches. That extra 1.125 inches forces a cut row on one side. Dropping the joint to 1/16 inch shrinks the total span to 60.5625 inches. The overage falls under half an inch, which a skilled setter absorbs into the corner joints where silicone caulk replaces cement grout. This is why 6×6 remains a staple format for first-home bathrooms. The arithmetic works.
A 12×24 porcelain tile offers five full modules across 60 inches. Four joints at 1/8 inch add half an inch. The total span hits 60.5 inches. The excess hides inside the two corner beads or bullnose trim pieces capping the alcove returns. No field tile gets cut along the horizontal axis. Vertical stacking follows the same logic. An 8-foot ceiling minus a standard 60-inch tub deck leaves 36 inches of wall above the rim. Three rows of 12-inch tile fill that gap perfectly with 1/8-inch joints between them. The 12×24 format solves both axes simultaneously.
A 6×24 plank tile uses the same modular base as the 6×6. Ten modules span the width. The 24-inch length stacks vertically in predictable increments. Plank formats introduce lippage risk because the long edges bow slightly during firing. ANSI A137.1 allows warpage tolerances that compound over a 24-inch face. Installers offset plank tiles by no more than 33 percent rather than the traditional 50 percent brick pattern to keep lippage within acceptable limits. The offset changes the visual rhythm but preserves the 60-inch division math.
A 5×10 module fits twelve times across 60 inches. Eleven joints at 1/16 inch add 11/16 inch to the span. The total reaches 60.6875 inches. Corner absorption handles the fraction. A 10×20 module fits six times across the wall. Five joints at 1/8 inch add 5/8 inch. Both formats belong to the same mathematical family. They divide the 60-inch constraint without generating offcuts that end up in the dumpster.
An 8×8 tile fails the test. Seven full tiles cover 56 inches. Eight tiles demand 64 inches. The remainder is four inches. A four-inch sliver requires cutting an 8×8 tile in half, discarding the other half if no adjacent wall needs a matching strip. Multiply that waste by the number of rows stacked from the tub deck to the ceiling. A 5×8 bathroom remodel built around 8×8 tile pays for delivered cartons that become landfill. The pallet price looks low until the overage percentage climbs past fifteen percent.

Which tile sizes divide evenly into a 60-inch tub alcove.
A 24×48 panel fares worse. Two panels cover 48 inches. The remaining 12 inches demands a rip cut down the entire 48-inch length of a third panel. That offcut measures 12×48 inches. Unless the side walls happen to need a 12-inch strip, the piece becomes scrap. Large-format panels suit open commercial walls. They punish tight residential alcoves. The thinset coverage alone demands a larger notch trowel, adding material cost to the waste problem.
Tolerance dictates grout joint width. Rectified tile accepts a 1/16-inch joint because the edges are uniform enough to prevent lippage and maintain a straight line. Pressed tile usually requires a 3/16-inch or 1/8-inch minimum joint to absorb the slight size differences between individual pieces. That joint width directly alters the 60-inch calculation.
Take the 12×24 format again. Five rectified tiles with four 1/16-inch joints span 60.25 inches. The quarter-inch excess vanishes behind corner trim. Five pressed tiles with four 3/16-inch joints span 60.75 inches. The three-quarter inch excess might force the installer to shave the first and last tiles by 3/8 inch each, or adjust the layout centerline to push equal cuts into both corners. Equal cuts look intentional. Unequal cuts look like mistakes. Rectified edges buy forgiveness in tight alcoves.
Thinset coverage shifts with the edge type. Rectified tile laid at a 1/16-inch joint requires a flat substrate because the thin layer of mortar cannot compensate for wall irregularities. A 1/4×1/4-inch square-notch trowel applies a thinner bed. Pressed tile set with a 3/16-inch joint often uses a 1/4×3/8-inch trowel to build out minor wall deviations. The thicker bed consumes more modified thinset per square foot. Manufacturer technical data sheets specify coverage rates based on trowel notch geometry. A 50-pound bag of polymer-modified mortar covers less area through a 3/8-inch notch than a 1/4-inch notch. Material procurement must account for the trowel size dictated by the tile edge.
Bullnose and surface trim pieces follow the same tolerance rules. If the field tile is rectified, the trim should match. Mixing a rectified 12×24 field tile with a pressed bullnose creates a visible joint mismatch at the transition point. Procurement lists must specify the edge treatment for every SKU in the bathroom remodel design, not just the main floor or wall tile.
A 32-inch return wall accepts an 8×8 tile perfectly. Four modules fill the depth with zero cuts, assuming zero joint width. Add 1/8-inch joints and the span creeps past 32 inches, forcing a sliver. A 4×4 tile fits eight times across 32 inches. Seven joints at 1/16 inch add 7/16 inch. The installer shaves the corner bead slightly or centers the layout to split the difference. A 16×16 tile fits twice. One joint at 1/8 inch yields 32.125 inches. The excess hides behind the back-wall intersection.
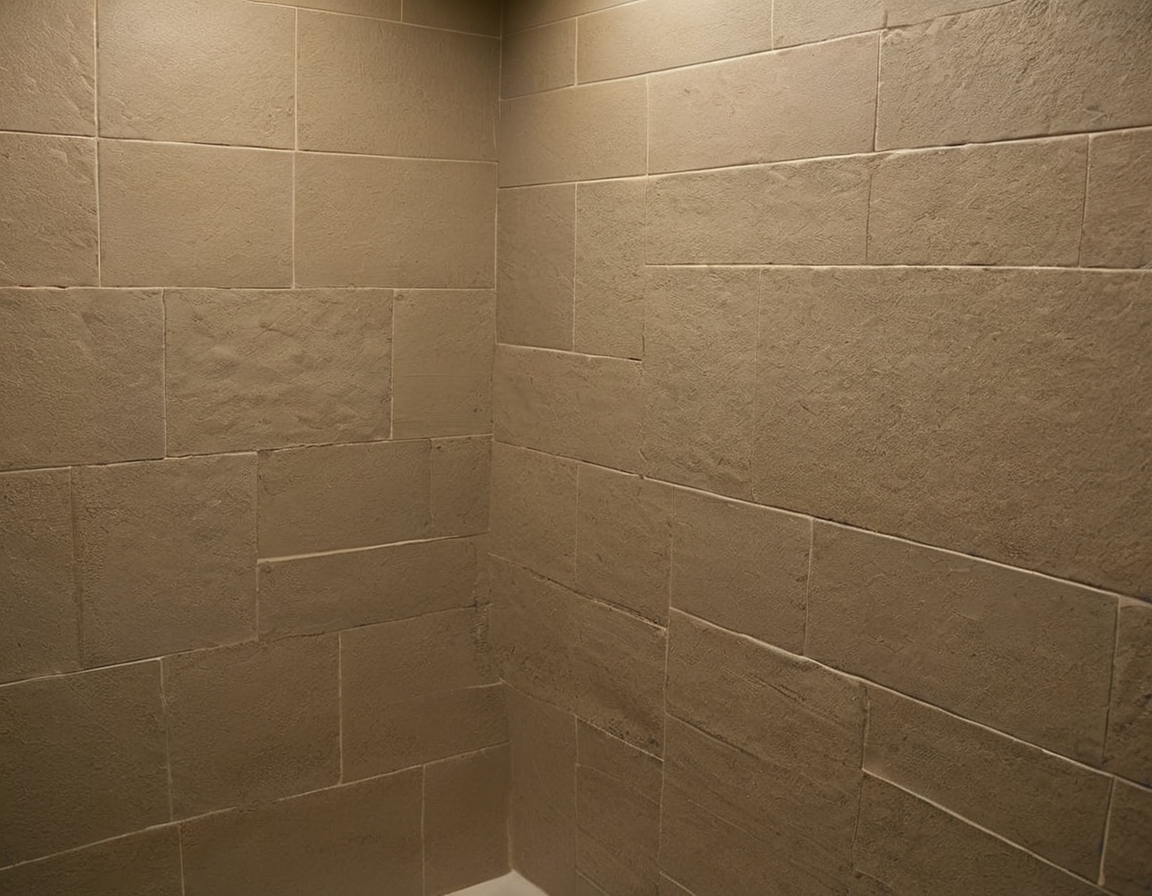
A 32-inch return wall accepts an 8×8 tile perfectly.
A 12×24 tile struggles on a 32-inch return. Two tiles cover 24 inches. The remaining eight inches demands a cut. An eight-inch strip from a 12-inch wide tile leaves a four-inch offcut. That offcut rarely finds a home elsewhere in a small bathroom. The 60×32 tub punishes formats that divide 60 but fail to divide 32. Check both dimensions before ordering pallets.
A 6×6 tile survives the 32-inch test. Five modules cover 30 inches. Four joints at 1/2 inch total reach 30.5 inches. The remaining 1.5 inches requires a cut row, but a 1.5-inch strip is manageable and wastes less material than an eight-inch rip cut from a large panel. The 6×6 format compromises between the 60-inch back wall and the 32-inch returns better than most rectangular options.
Lighting choices also affect material planning. Recessed cans generate heat that raises ambient temperature near the ceiling. ENERGY STAR states that qualified LED lighting uses at least 75 percent less energy and lasts up to 25 times longer than incandescent lighting. Lower heat output from LED fixtures reduces thermal stress on the ceiling assembly and helps manage the humidity load that a bathroom ventilation fan must exhaust. Less trapped heat means the thinset cures under more stable conditions, reducing the risk of bond failure behind the top row of tile.
Ventilation removes moisture from the alcove. A properly sized exhaust fan pulls humid air out before it condenses on cold tile surfaces. The tile format does not change the CFM requirement, but the grout joint width affects how much cementitious material sits exposed to that moisture. Wider joints mean more porous grout surface area requiring sealing. Tighter joints on rectified tile reduce the linear feet of grout that needs maintenance over the life of the installation.
For more on this topic, see other guides on this site.